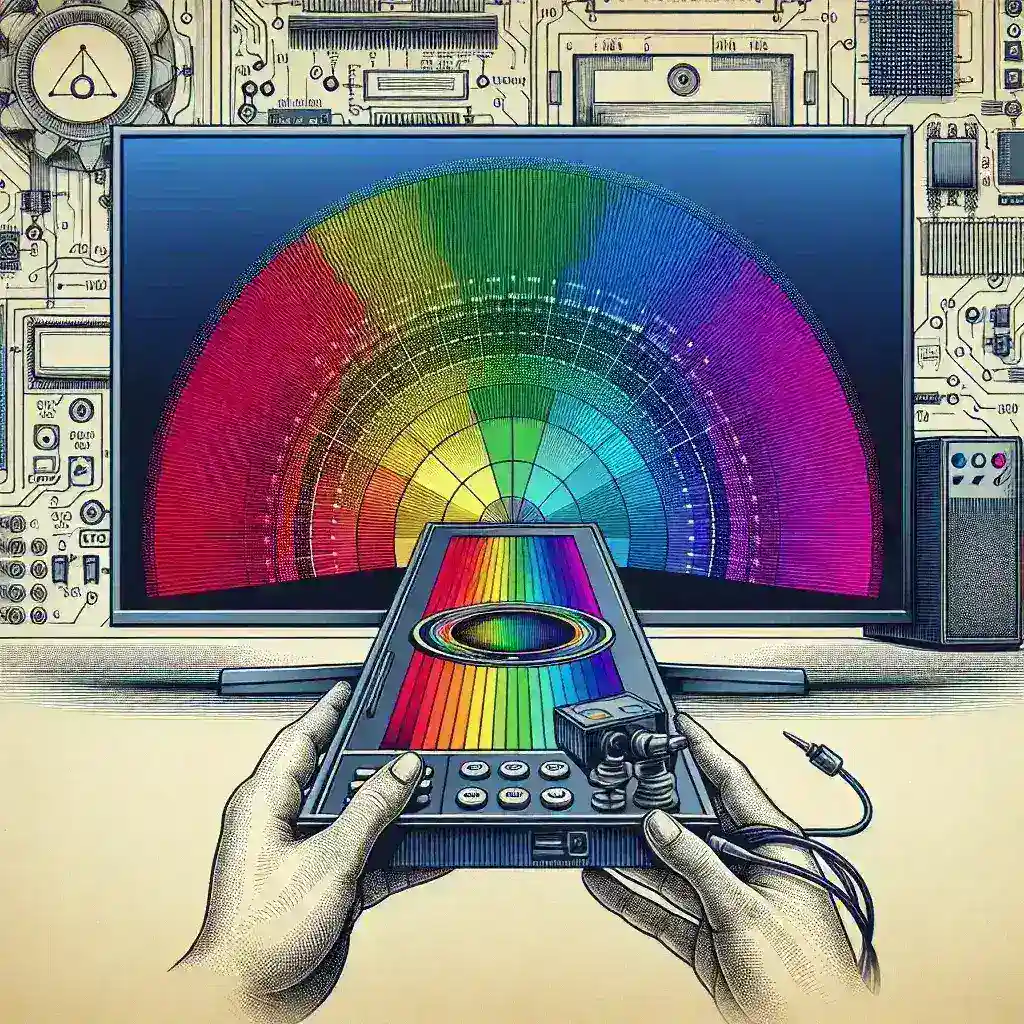
Calibrating a plasma monitor for accurate colors is essential for achieving the best possible display quality, whether for professional use or personal enjoyment. A properly calibrated monitor ensures that the colors you see on the screen are true to life. Here, we will guide you through the entire calibration process step-by-step.
Why Calibrate Your Plasma Monitor?
Calibrating your monitor is crucial for various reasons:
- Accuracy: Ensures colors are displayed as intended.
- Consistency: Maintains uniformity across different devices.
- Efficiency: Reduces eye strain from overly bright or inaccurate colors.
Tools You Will Need
Before starting the calibration process, make sure you have the following tools:
- Calibrating Software (e.g., CalMAN, DisplayCAL)
- Colorimeter (e.g., X-Rite i1 Display Pro, Datacolor SpyderX)
- Reference Images or Patterns for Calibration
Setting Up Your Environment
The environment where you perform the calibration affects the outcome. Ensure the following:
- Use a dimly lit room with minimal reflections.
- Allow your monitor to warm up for at least 30 minutes.
- Avoid any direct light hitting the screen.
Initial Settings
Before diving into the detailed calibration, adjust the basic settings:
- Brightness: Set to a comfortable level; too high can cause glare.
- Contrast: Adjust to make sure whites are distinctly white, not overblown.
- Sharpness: Set to zero or the lowest setting; too much sharpness can distort images.
Step-by-Step Calibration Process
Follow these steps to calibrate your plasma monitor:
Step 1: Install Calibration Software
Download and install the calibration software on your computer. Ensure it is updated to the latest version.
Step 2: Connect the Colorimeter
Plug in your colorimeter to the computer’s USB port and place it on your monitor. Most software will guide you through the process of positioning the device.
Step 3: Start the Calibration
Launch the calibration software and select your monitor. Follow the on-screen instructions to initiate the calibration process. The software will display a series of colors and patterns while measuring the output using the colorimeter.
Step 4: Adjust the Settings
The software will suggest adjustments based on the measurements taken. These include:
- Gamma: Typically set at 2.2 for most monitors.
- Color Temperature: Set to around 6500K for a natural appearance.
- RGB Balance: To ensure each color channel (Red, Green, Blue) is balanced.
Step 5: Save the Profile
Once the calibration is complete, save the profile generated by the software. This profile will be used to ensure accurate color representation whenever you use your monitor.
Step 6: Verify the Calibration
Use the reference images or patterns to verify that the colors displayed are accurate. If necessary, make minor adjustments.
Common Calibration Mistakes
Avoid these common mistakes to ensure a successful calibration:
- Skipping the Warm-Up: Ensure your monitor is warmed up before starting.
- Ignoring Ambient Light: Calibrate in a controlled lighting environment.
- Over-Tweaking: Making excessive adjustments can distort true colors.
Maintaining Your Monitor
Regular calibration ensures consistent color accuracy. Consider recalibrating every few months or after significant changes in your setup.
Summary Table
| Step | Action | Description |
|---|---|---|
| 1 | Install Software | Download and install the calibration software |
| 2 | Connect Colorimeter | Connect and position the colorimeter on the monitor |
| 3 | Start Calibration | Launch software and follow on-screen instructions |
| 4 | Adjust Settings | Adjust brightness, contrast, Gamma, color temperature, and RGB levels |
| 5 | Save Profile | Save the calibration profile generated |
| 6 | Verify Calibration | Use reference images to ensure accurate colors |
By following this comprehensive guide, you can ensure your plasma monitor is calibrated for accurate and vibrant colors. Whether for professional use in photography, video editing, or simply to enhance your viewing experience, accurate calibration makes a significant difference.

